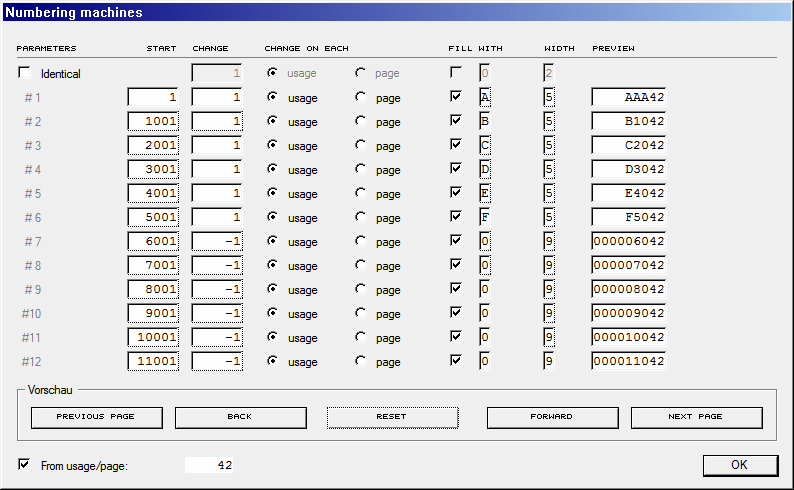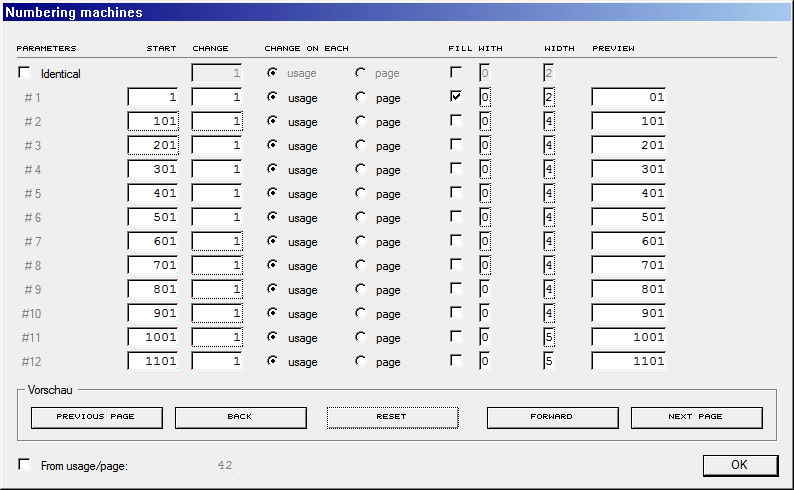
Don't panic – this dialog is quite harmless. Let's have a relaxed look at it.
In the leftmost column, you see the twelve numbering machines – shown in grey, not selectable numbers. You don't have to switch the numbering machines on or off. For each single numbering machine, you are free to define any parameters. It will only be used if you have used the relevant placeholder in your document. So you are not even bound to a defined range and may use the first two numbering machines for document A, numbering machine #12 for document B only, and all numbering machines for document C, without any issues.
If you have not used PersoNum before, all numbering machines are set to the start value 1. The start value has to be positive and cannot exceed 999'999.
In the third column, you enter how the start value of each desired numbering machine should change. The change value may be negative, too, in a range from -99'999 to 999'999.
The radio buttons in the next columns define when the start
value of a numbering machine should be changed in order to the change
value. The start value will either be changed on each usage or on each
next page. This means: If you have assigned numbering machine #1 three
times on a page and have set that its start value should change on
each next page, you will get the same number from numbering machine #1
three times on each page. But if you have chosen Change on each
usage
and the start value of numbering machine #1 e.g. has been
set to 12 with a change value of 17, you will get the values 12, 29,
and 46 from numbering machine #1 on the first page. (If you may have
discovered already, you can even use three different placeholders for
numbering machine #1 only: [#NUMBER#], [##1##], or
[##01##].
The next three columns offer a checkbox and two edit fields for one character each. Here you can define for each numbering machine if its output value should be filled with any characters and how wide the filled output should become. This sounds more complicated than it really is.
Imagine you want to print 5'000 enumerated tickets repeatedly, and you know that you will need about one million tickets this year. You want to fill the numbers with zeros in front, with a total of seven digits, so the ticket with number 1000000 will have the number as wide as ticket number 1 (0000001). Of course you can even add normal zeros in front of the placeholder in the text frame, but then you will have to change the number of zeros in the body text when the numbering machine jumps from e.g. 999 to 1'000. No, that's nonsense. Just use these switches.
In our example from above, you should simply set numbering machine
#1 this way: Fill: [x], with: 0
, width: 7
. That's a
cakewalk.
You can use letters or other characters instead of zeros, of course. Indicate tickets for adults and children with letters, mark lots for members an non-members ... You'll surely find you own useful example soon.
The rightmost column previews what the relevant numbering
machine will output when you are going to print the document. To use
the preview, use one of the offered buttons in the dialog section
Preview
.
Because you can even let numbering machines start with high values and decrease them with negative change values, chances are that you will see a red zero somewhen in the preview. Then the relevant numbering machine will be switched off. In order to avoid this, we recommend to do intensive tests in the preview just to assure that you have set up all numbering machines as desired.
Yet what was there? That's right, the switch All
at the
very top left of the dialog.
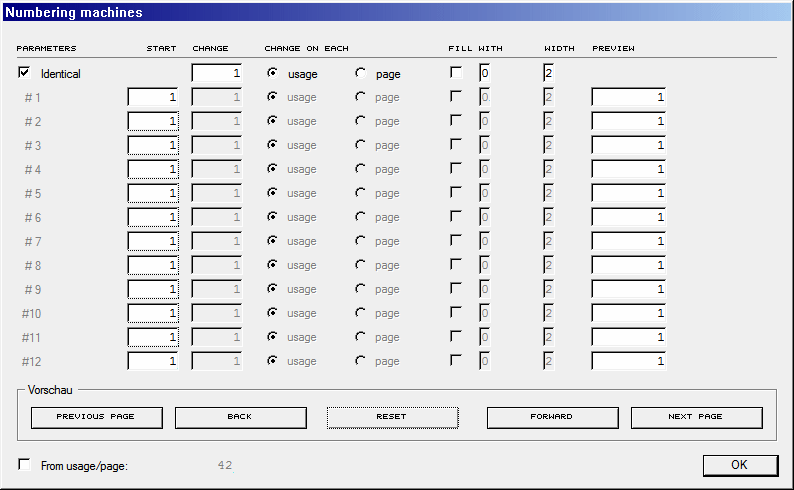
Use this switch if you want to change all change parameters of all
numbering machines identically. This saves much time. The start values
of the individual numbering machines will be stored and cannot be
overwritten in the All
mode.
If and how you use the numbering machines at last, is up to your imagination.